Short answer: In-page push is a push-style ad displayed inside a web page, without a browser notification subscription or permission prompt. Buy it as page-based inventory, checking placement IDs, device coverage, creative requirements and the event you pay for. Start with one offer, one country and one device group, with working conversion tracking and a stop rule written before launch.
Checked: November 2026
What in-page push is
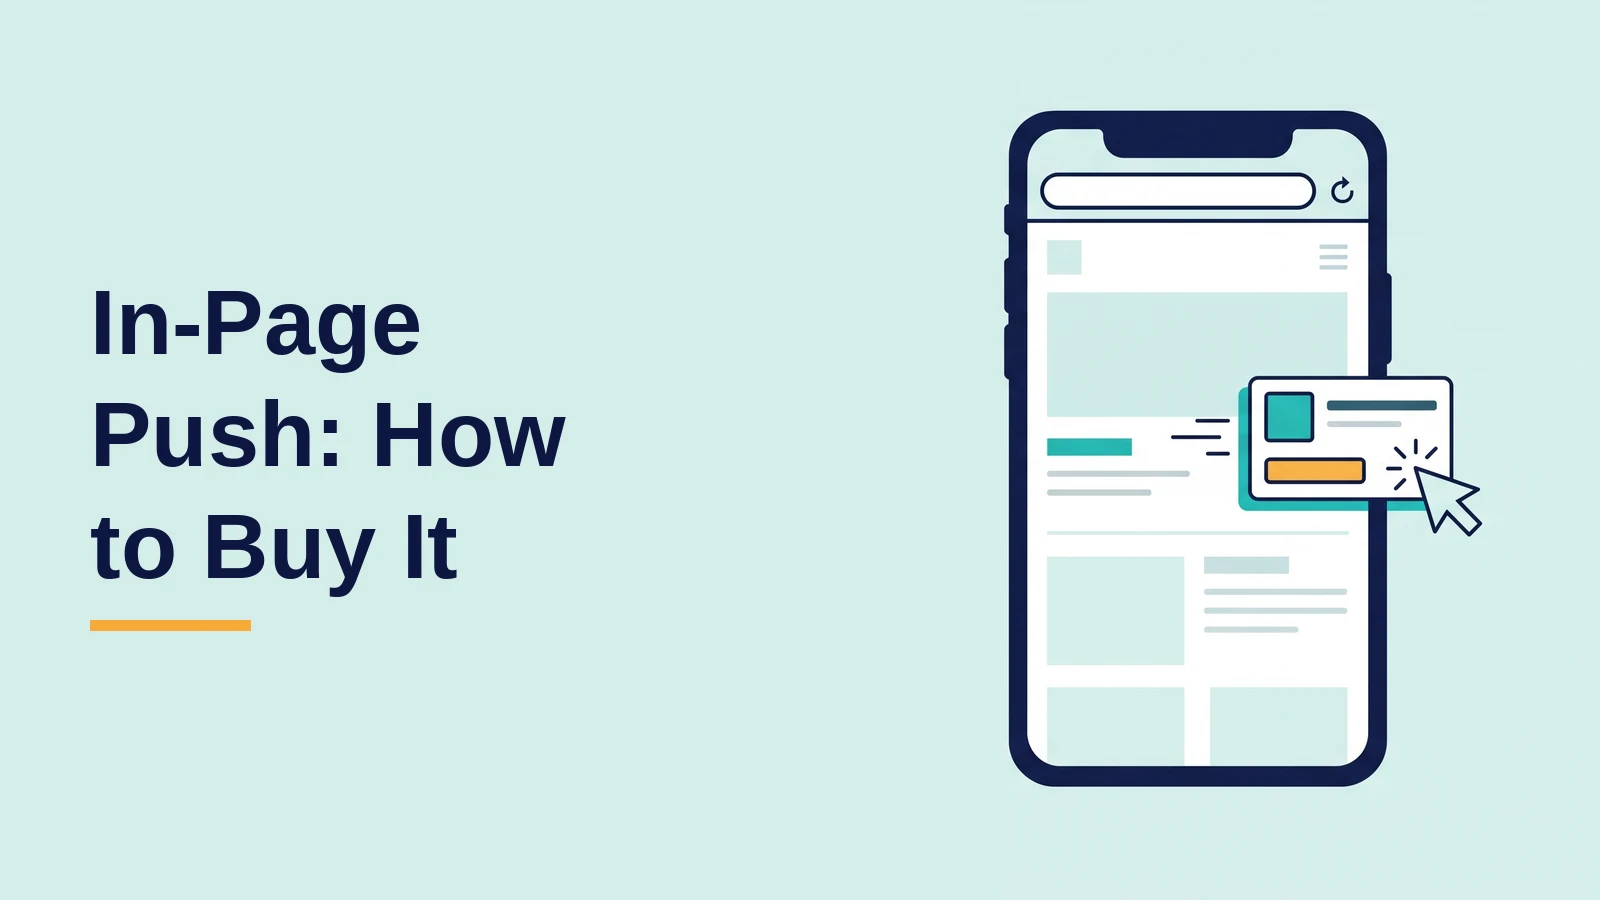
An in-page push ad is a message-shaped unit inside the publisher’s page. The visitor sees the ad during that page visit and can click through to the advertiser’s destination. Showing the unit does not create a push subscription or add the visitor to a notification subscriber base.
The distinction is in delivery. The Notifications API standard describes an API that displays notifications to the user, typically outside the page’s viewport. A card styled like a notification can still be ordinary page content. “In-page push” is an industry label, not a term defined by a web standard, so ask the seller to define it in writing. Also ask when the source counts an impression: a loaded element alone does not prove the visitor saw it.
Request a live preview before buying. Check where the unit appears, what triggers it and where its clickable area ends. Do not accept a screenshot of a phone notification as proof of an in-page placement.
In page push vs. classic web push
Classic web push uses a subscription and permission to receive messages. The W3C Push API draft says an application server can send a push message even when the web application or browser is inactive. The Push API does not display anything itself. It relies on other APIs, mainly the Notifications API, to show the message.
In-page delivery depends on the publisher page being open. Once the visitor leaves that page, its ad cannot follow them as a system notification. A later page visit can create another advertising opportunity, but that is a separate page exposure.
| Check | In-page push | Classic web push |
|---|---|---|
| Display location | Inside the publisher page | Browser or operating system notification interface |
| Browser notification opt-in | Not required for the page unit | Required for notification delivery |
| Inventory basis | Visits to pages carrying the placement | Existing push subscriptions |
| After leaving the page | No notification delivery from that unit | Delivery can continue with an active subscription |
| Buying question | Which page placement generated the event? | Which subscription inventory generated the event? |
Keep the formats separate in your campaign names and reports. An inpage push label should lead to a page preview and a page-based inventory explanation. If a seller describes subscriber age, ask which format those filters actually control.
Where in-page push ads can appear
For desktop and mobile web, ask for previews from the exact browser and operating system combinations you intend to buy. Check the headline, image crop, close control and destination. Exclude combinations you cannot verify before launch.
On a phone, test the unit with the on-screen keyboard open and after scrolling. Confirm that the ad and its close control do not cover the publisher’s navigation. Then follow the click through every redirect to the offer’s final action.
Classic push on iPhone has a separate requirement. Apple’s web push documentation says web push is added to Home Screen web apps in iOS 16.4 or later, and the app must ask the user for permission. Do not describe classic push as universally unavailable on iOS.
For an in-app browser, request a test inside the actual host app. Verify page rendering, the click destination and conversion recording there. A successful mobile browser preview does not establish that the same journey works inside an app. Treat untested app environments as unverified inventory.
What to check before buying in-page push traffic
Placement IDs and device reports
Get a sample export containing campaign, publisher or source, placement, creative, country, device, OS, spend and counted events. Ask what each identifier represents and whether it remains stable between exports. Confirm that you can exclude one placement without blocking unrelated inventory.
Request the device and OS split for your intended country, rather than a network-wide total. Check whether desktop, mobile and in-app browser traffic can be separated. Our guide to comparing popunder ad networks gives a related checklist for source visibility and buying controls.
Page triggers, clicks and frequency
Ask whether an opportunity starts at page load, after a delay or after another page action. Request separate reporting for in-page and subscription inventory. A campaign label containing “push” is not enough to establish which mechanism you are buying.
Get the billing definition in writing. For a click-based purchase, identify the clickable elements, repeated-click rules, invalid-click filtering and dispute deadline. If impressions are billable, establish when one is counted. Ask whether a close-button interaction can ever enter the click count.
For frequency controls, record the counted event, time window and scope: placement, campaign or another grouping. Ask how the system recognizes repeat visits and what happens when that recognition is unavailable. Save the settings alongside the preview so you can investigate repeated exposure later.
Check whether the report distinguishes total events from unique visitors. Ask how uniqueness is defined and whether repeated page loads can create additional counted events. Do not use a page-load total as the size of a subscriber audience, or treat it as a count of different people.
Creative specifications and page behavior
Request the current asset sheet: image dimensions in pixels, aspect ratios, file types, file-size limits and text limits. Check which assets are required and how each is cropped. Use that placement’s specifications rather than reusing sizes from a classic push campaign.
Preview the final headline and image together. Keep the ad recognizable as advertising; reject fake system warnings, invented chat messages and close controls that resemble calls to action. Use one promise that the first screen of your landing page can substantiate.
To compare how a message fits its surroundings, review these native advertising examples. For this purchase, approve the actual in-page unit and destination together.
How to run a focused first test
Define one test cell
Pick one offer, one country and one device group. Save the offer owner’s allowed traffic types and conversion definition. If approval status matters, write down when an initial event becomes an approved outcome.
Use one destination and a small creative set built around the same offer promise. Record the starting settings. Keep classic push in a separate campaign so its subscription inventory does not enter the in-page totals.
Prove the tracking path
Map the source’s supported campaign, placement, creative and click identifiers into your tracker. Send an authorized test visit through the full route. Inspect the recorded values, including whether any macro remains as unresolved placeholder text.
Run an authorized test conversion and confirm that it links back to the placement. If conversions return through a server request, check the returned identifier and duplicate handling. The popunder traffic buying guide covers a related tracking preparation sequence; use the documentation for your actual in-page source.
Save the test click identifier and follow it through the tracker and offer logs. Confirm whether a click opens the destination in the current tab or another one. Repeat the check on the target device if your first test used a desktop preview.
Set the budget by rule
Set your maximum acceptable acquisition cost from the offer’s economics. Define the conversion status that qualifies, then authorize a loss allowance for learning. Keep this allowance separate from the account deposit.
One planning rule is: test spend cap = acceptable acquisition cost × chosen test multiple. Choose the multiplier yourself, then reduce the cap if it exceeds your authorized loss allowance. This sets a spending boundary; it does not predict conversions or establish statistical confidence.
Write the stop rule before launch: pause when the spend cap is reached, tracking breaks or delivery violates the saved targeting. Set a review time after the expected conversion-reporting delay. Do not extend spending simply because outcomes are still pending.
How to read first results and investigate gaps
Open placement-level reports with device, OS and creative visible. Align date ranges, time zones and reporting cutoffs across the source, tracker and offer system. Record whether conversions are grouped by click time or conversion time.
Add the placement rows and compare their spend with the campaign total for the same period. Check that the export includes unknown or unassigned placements. Keep any unexplained remainder visible instead of distributing it across the placements with recorded conversions. Reconcile this difference before calculating placement-level acquisition cost.
Compare source clicks with tracker arrivals, then compare arrivals with approved outcomes. Calculate arrival ratio = recorded tracker arrivals / source clicks and approved acquisition cost = attributed spend / approved conversions. Use the same traffic cohort and definitions. If there are no approved conversions, report spend and pending outcomes instead of an acquisition cost.
For missing arrivals, inspect the redirect path, unresolved macros and destination errors. Compare repeat-click treatment in both systems. Save affected placement IDs and timestamps before asking the source to investigate; an unexplained gap alone does not establish fraud.
For arrivals without recorded conversions, inspect the offer action and conversion return path. Separate rejected, pending and approved events. If clicks rise without more arrivals or outcomes, preview the unit again and check its clickable area before changing the bid.
On our own platform, in-page push is described as a fallback inside the push format where classic push is unavailable, so ask any source whether it sells it as a separate unit or as a fallback before you compare prices.
Exclude a placement when it meets your written stop rule or has a verified technical incompatibility. Retest placements with traceable approved outcomes in a separate inclusion list where supported. Change one buying setting at a time and record what happened to source mix and acquisition cost.
Common mistakes and their fixes
- Treating the format as a subscriber list. Fix: confirm the page trigger and keep subscription traffic outside the campaign.
- Accepting “all devices” without evidence. Fix: approve previews and tracking checks for each targeted environment; exclude unverified ones.
- Choosing creatives by click-through rate alone. Fix: compare tracker arrivals and approved conversions for the same creative and placement.
- Blocking a whole publisher over one weak unit. Fix: identify the placement behind the problem and apply the exclusion at that level.
- Waiting for delayed approvals while spending continues. Fix: pause at the saved cap, reconcile pending events and make a new spending decision after review.
A seven-step buying checklist
- Save the inventory definition. Confirm in-page delivery, the page trigger and separation from subscription traffic.
- Inspect placement controls. Export sample IDs, confirm their meaning and verify that individual exclusions are available.
- Approve target environments. Check desktop or mobile previews and test any in-app browser traffic you plan to include.
- Approve assets and click behavior. Save the size sheet, final preview, close-button behavior and billing definition.
- Verify attribution. Run an authorized visit and conversion, then find the placement ID beside the recorded outcome.
- Write spending boundaries. Save one offer, country and device group, the loss allowance, spend cap, reporting delay and stop rule.
- Review before expanding. Reconcile clicks, arrivals and approved outcomes by placement, then authorize the next test separately.
What GTaro Ads offers
GTaro Ads works with advertisers and publishers. Advertisers can deposit from $100 and set their own bid. Its formats include banner, native and smartlink. Confirm the available format and requirements for your planned campaign before funding it.
FAQ
Does in-page push require notification permission?
The page unit does not require browser notification permission or a push subscription. Ask the source to demonstrate page-based delivery. Review the site’s tracking and consent setup separately from notification permission.
Does in-page push work on iOS?
A page-based unit does not rely on the classic web push subscription mechanism. Verify the source’s actual iOS placement and destination on your target device. For classic push, check the Home Screen web app and permission requirements described above.
Can I reuse classic push creatives?
Use the idea as a starting point, then rebuild assets to the in-page placement’s specifications. Check cropping, text truncation, the ad label and the destination in a live preview before approving them.
How much should the first test cost?
Set the cap from your acceptable acquisition cost and authorized learning loss. Narrow the test if that allowance cannot cover your planned review. An account’s minimum deposit does not determine how much one test should spend.
When should I stop a placement?
Stop at the prewritten spending boundary or after verifying a targeting or technical failure. For an outcome-based decision, reconcile the conversion delay and approval status first. Save the placement ID, review period and reason for the exclusion.